A crash-course in printing stickers
I wanted some stickers. That seems simple.
No it isn't.
First part, create or find the artwork.
I tried the former by commissioning a friend. Sadly, it took quite some time. Not going to blame them, life happens, but well, I still kinda want the stickers
I thought about using GenAI, but, nah, not fun. So. I took the official in-game stickers from Cygames' Umamusume: Pretty Derby, from the unofficial wiki [umamusu.wiki]. Fine.
Problem: The PNGs ain't exactly clean. The local print shop is not exactly happy with having to plot 7 designs over 4 diffferent size classes over A3, while also cleaning up the kisscut margins. They told me to go clean them up and prepare the print + cut file myself.
Back in highschool, I used to operate CorelDraw for layouting the weekly student magazine print.
Problems:
- I don't have a current CorelDraw license
- I don't remember how to operate CorelDraw anymore
- I am on linux.
I asked several LLMs. They told me the best option is Inkscape. Fine. Let's install Inkscape. In AUR, we can just grab inkscape-bin
Problem:

IDK how to use Inkscape either. Source: KYM
So, I just asked ChatGPT how to get this done quickly. Recipe I got is basically, as follows:
- Create the canvas (in my case, A3 was required.
- Import desired image. Drag and drop works.
- Select desired image, then Path → Trace Bitmap.
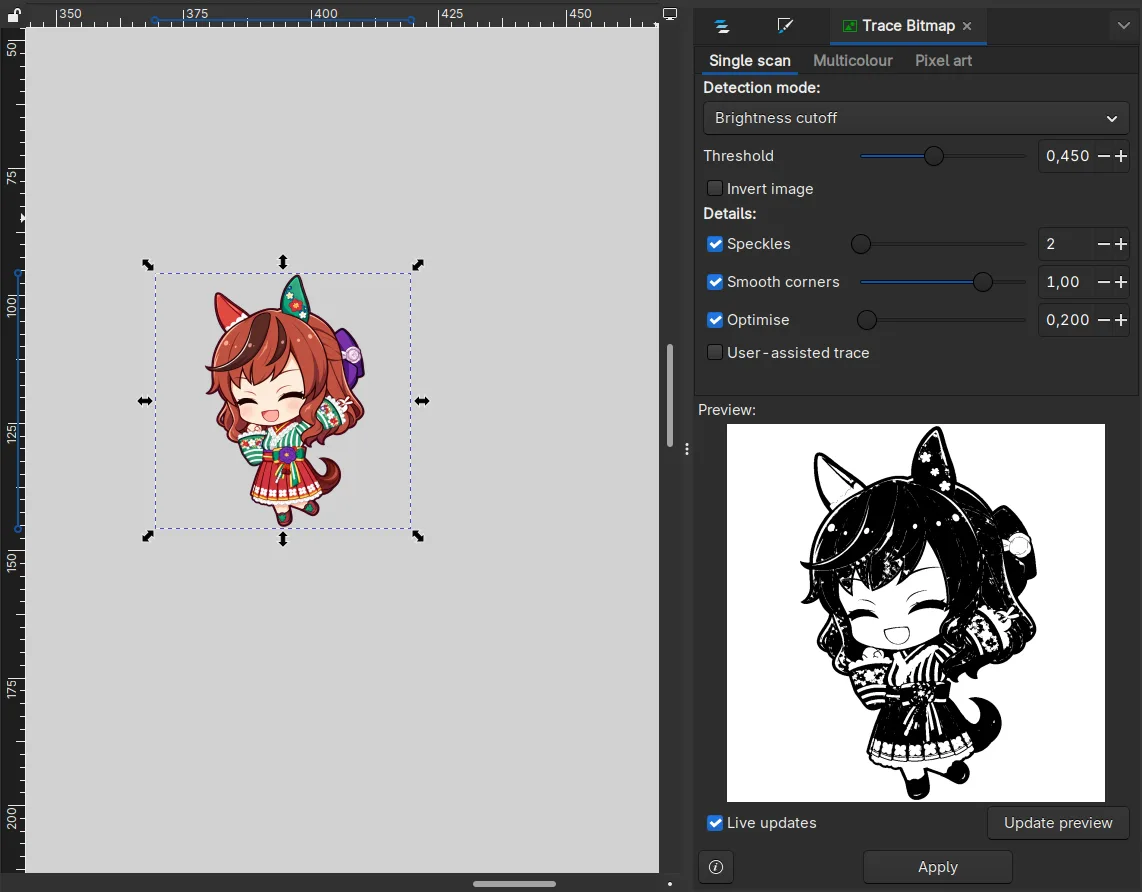
Trace Bitmap. These are the settings I used. What's important is to ensure all the bounding lines are black. Internal shapes may remain white
- Click apply.
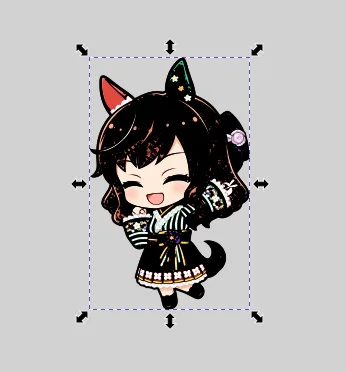
Image after applying bitmap trace. Looks splotchy
- Without changing your selection, go to Path -> Break Apart
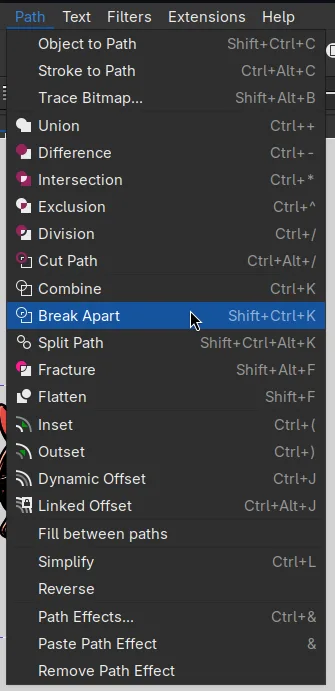
Path -> Break Apart
- You will get this creature from the backrooms.
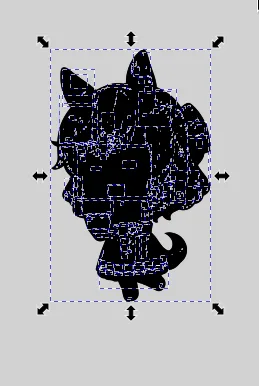
Broken-apart bitmap trace. Nice Nature got abstracted.
- Next, union the blob with
Ctrl + Shift + Uor Path -> Union
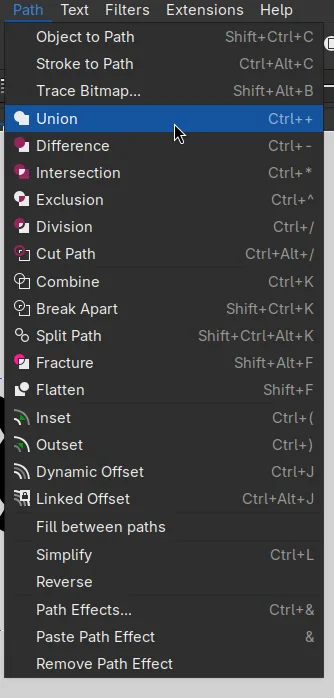
Union controls
You should get this pretty silhouette now.
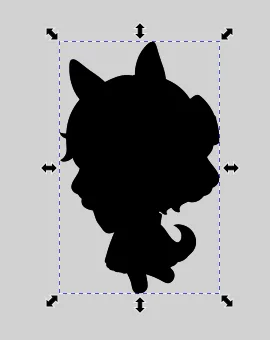
Silhouette after union
- Outset the silhouette. I like to do it four times
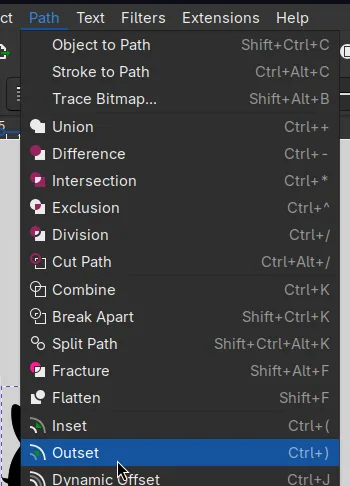
Path -> Outset
You should now receive an amorphous blob, as follows
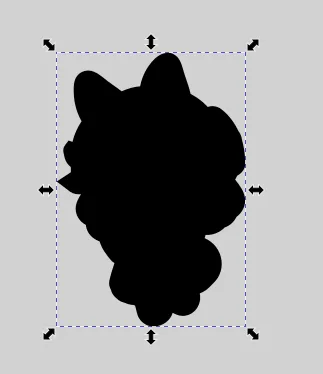
Post-outset shape
- Still selecting the outsetted image, set transparent (the red x) with left mouse, and outline magenta with shift + left mouse

Color settings
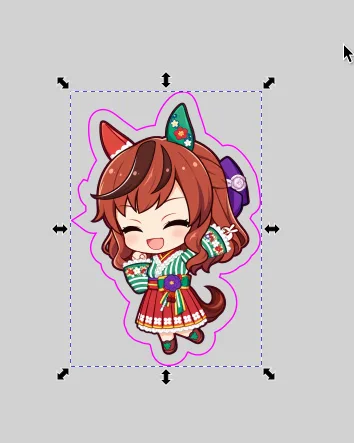
Outlined properly!
The magenta line is now the vector cutting path.
A thin stroke such as 0.25 mm is sufficient. The stroke thickness itself does not determine where the cutter cuts; the vector path does.
- Group the artwork and cut path
Using the regular Select tool, drag a selection box around both:
- the original artwork; and
- its magenta cutting path.
Press:
Ctrl + G
to group them.
The artwork and cutting path can now be moved and scaled together without losing alignment.
- Create the required sticker sizes
In this case, the desired final widths were:
- 50 mm
- 30 mm
- 20 mm
- 15 mm
These dimensions refer to the finished sticker width including the cut contour.
With the artwork and cutting path grouped, enable the aspect-ratio lock in the top toolbar.
Set the group width to:
50 mm
Do not manually change the height. Inkscape will scale it proportionally.
Then create the other sizes:
Ctrl + D → set width to 30 mm
Ctrl + D → set width to 20 mm
Ctrl + D → set width to 15 mm
Only trace each unique artwork once. The smaller variants should be made by duplicating and scaling the completed group.
- Arrange the stickers on the sheet
Arrange all required stickers on the A3 canvas.
For this print, approximately:
- 3 mm between neighbouring cut contours
- 15 mm from the outermost cut contour to the edge of the A3 page
worked comfortably.
Inkscape's Align and Distribute / Grid controls can be used to arrange multiple objects quickly instead of positioning every sticker manually.
The exact packing pattern does not matter as long as:
- cut paths do not overlap;
- sufficient spacing remains between them; and
- everything remains inside the printer's safe area.
Guides pulled from the rulers may be used to mark margins. These guides are not printed or exported.
- Separate the artwork and cutting paths into layers
Once the final layout is complete, avoid moving the stickers again.
Select all sticker groups:
Ctrl + A
Ungroup them:
Ctrl + Shift + G
Click one magenta cutting path, then use:
Edit → Select Same → Stroke Color
This should select every magenta cut path on the page.
Create a new layer named:
CutContour
Move the selected paths into that layer.
The remaining PNG artwork can then be placed into another layer named:
Artwork
The document should now conceptually look like:
CutContour
    all vector cutting paths

Artwork
    all raster artwork
You should be able to hide either layer without anything changing position.
- Save the master file
Save the complete editable document as an SVG before exporting anything:
PRINT_MASTER.svg
The master file may be very large if the source PNGs are embedded. This is normal.
Keep this file yourself; it does not necessarily need to be given to the printer.
- Export the print artwork
Hide the CutContour layer so only the artwork remains visible.
Export the entire A3 page as PNG.
For A3 at 300 DPI, the resulting image should be:
3508 × 4961 px
Example:
PRINT_PROJECT_300DPI.png
Make sure the export area is Page, not Drawing or Selection, otherwise the outer margins will disappear.
- Export the cutting paths
Hide the Artwork layer and show only CutContour.
The cut file must retain the same 297 × 420 mm A3 page and exactly the same object positions as the print file.
Export the cut paths as vector formats such as:
CUT_PROJECT.svg
and/or:
CUT_PROJECT.pdf
If exporting the complete SVG causes Inkscape to include the hidden embedded artwork and creates an enormous file, select all cut paths and use Export Selected Only.
However, make sure the document/page itself remains A3. Do not crop or resize the page to the selection or drawing.
The resulting cut SVG should still report approximately:
width="297mm"
height="420mm"
The cut file should contain only the vector paths, while preserving their positions on the original A3 page.
That is the "standard" way. The non-standard way is just using shortcuts the way it was intended.
- Import PNG and set its physical size.
- Select PNG → Path → Trace Bitmap.
- Your settings should stay from the previous image. Adjust threshold only if necessary → Apply.
- Close the tracing panel. The new black vector should already be selected.
- Ctrl+Shift+K → Break Apart.
- Ctrl++ → Union. Now it's a solid silhouette.
- Ctrl+) a few times until the border visually matches the ~2 mm contour you just made.
- Shift-click magenta → gives it magenta stroke.
- Click the X swatch → removes fill.
- Move that selected contour to CutContour.
Results:
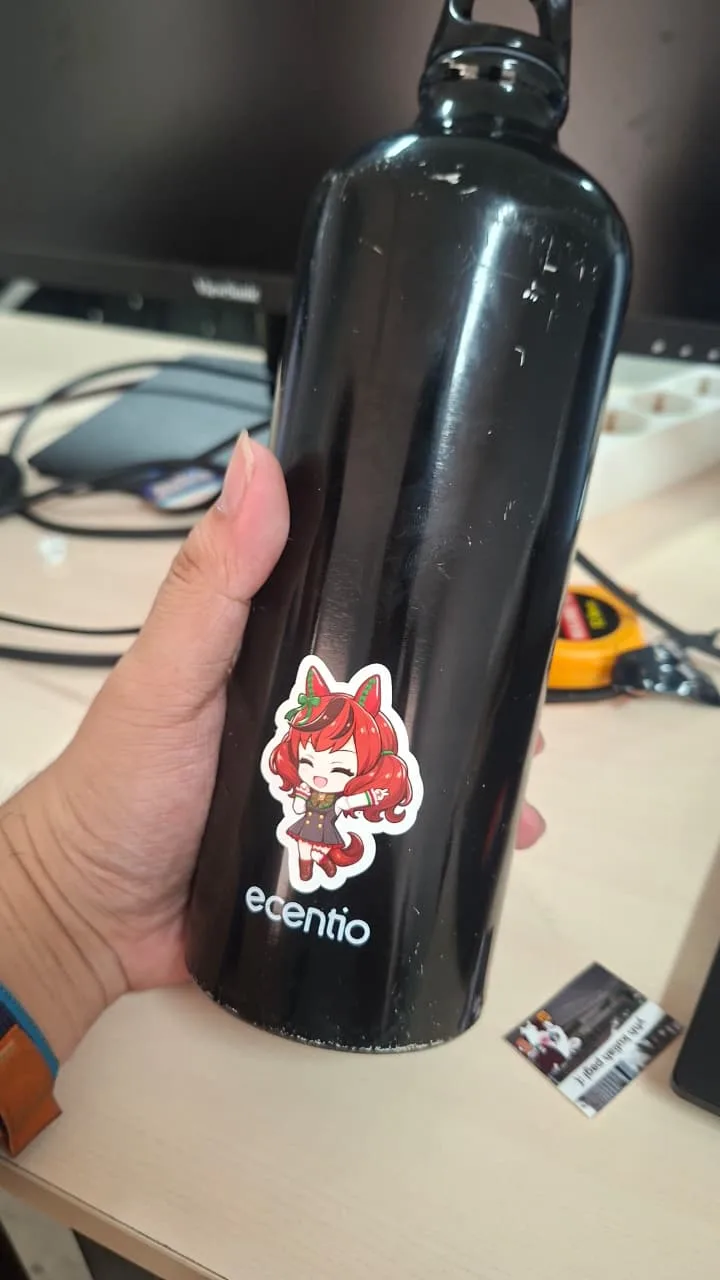
Tumbler
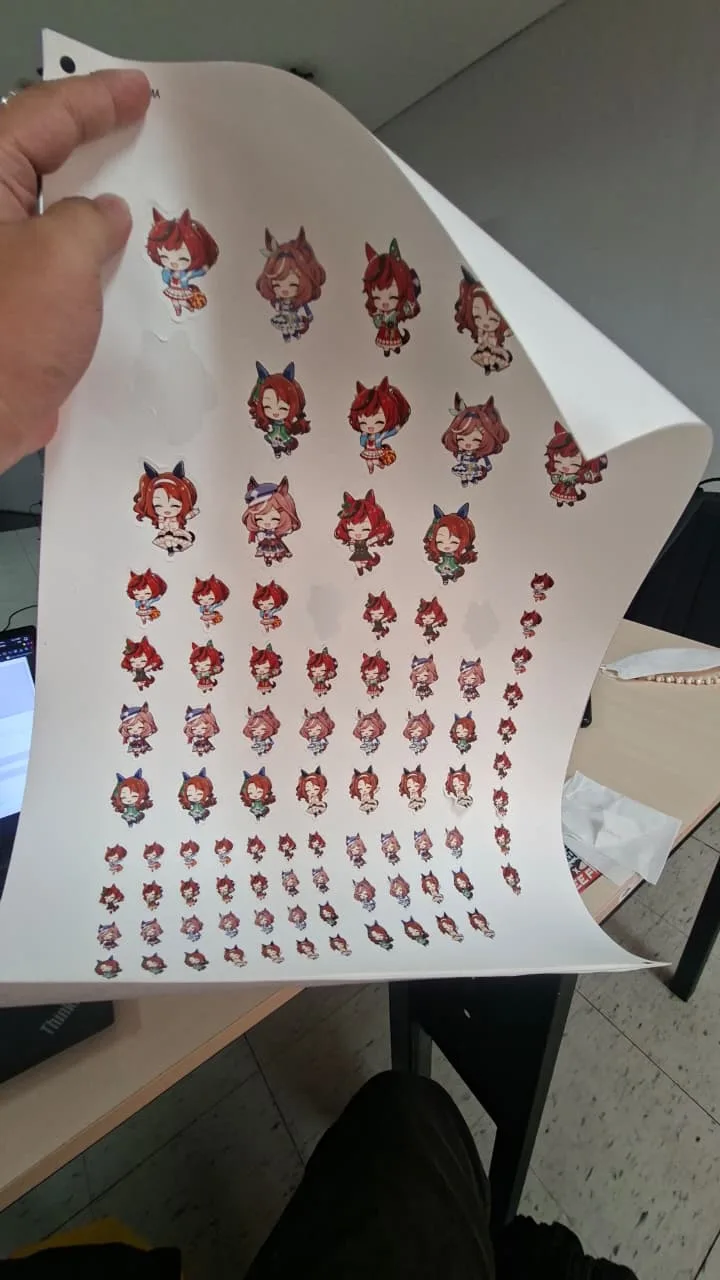
Sticker Sheet